How To Install a Kitchen Faucet On Your Own

Ready to upgrade your space without breaking the bank? Today, we’re tackling the installation of faucets – a cost-effective way to enhance your kitchen or bathroom. Forget the hefty plumbing bills; with our step-by-step guide on how to install a faucet, you’ll become the handy hero of your household. Let’s dive into the details and get those tools ready for a faucet upgrade!
Why Install a Faucet Yourself?
Wondering why you should tackle faucet installation yourself? It’s a budget-friendly approach to upgrading your space, and the satisfaction of completing a home improvement project on your own is unbeatable. So, grab your tools, and let’s start this DIY adventure!
Step 1: Gather Your Tools
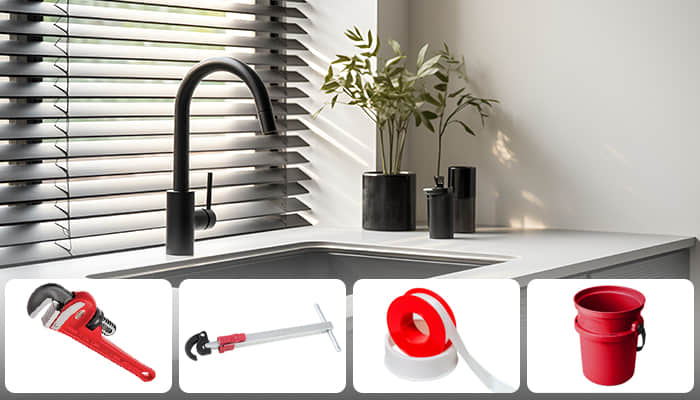
To kick things off, collect the tools you’ll need – an adjustable wrench, a basin wrench, a plumber’s tape, and a bucket for potential water drips. Preparation is key for a smooth installation process.
Step 2: Turn Off the Water
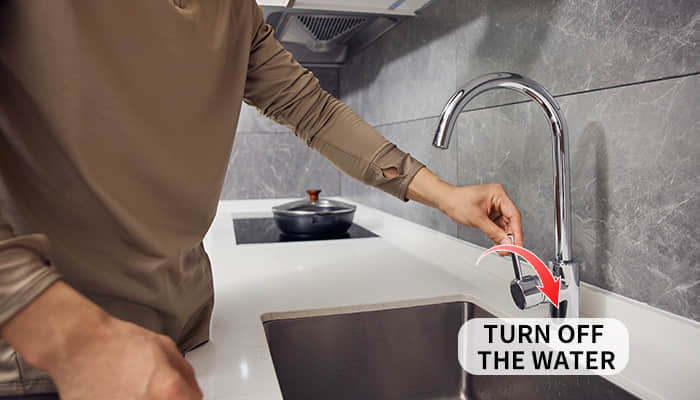
Safety first! Head to the main water supply and turn it off. Open the faucet to release any remaining water pressure. Water off? Great, let’s move on!
Step 3: Disconnect the Old Faucet
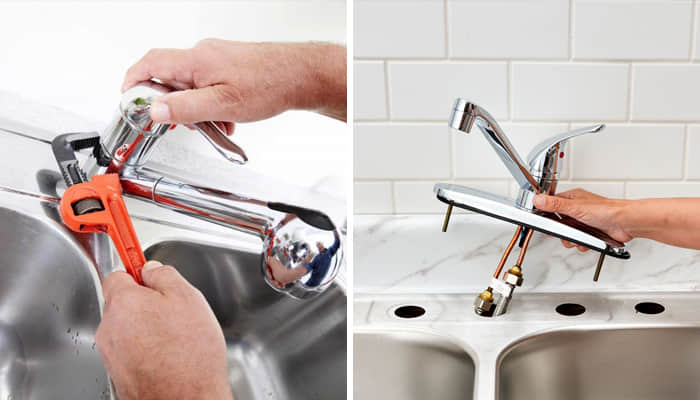
Say goodbye to the old faucet by disconnecting the supply lines and removing any mounting hardware. You’re making room for something better!
Step 4: Clean the Area
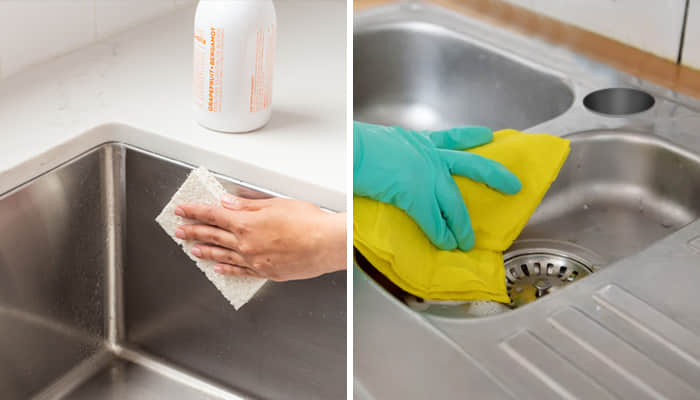
Now that the old faucet is out, take a moment to clean the installation area. Wipe away residue and ensure the surface is smooth for the new addition.
Step 5: Install the New Faucet

Now, let’s get hands-on with installing your new faucet. Follow the manufacturer’s instructions carefully. Begin by applying the plumber’s tape for a secure seal – wrap it around the threads of the pipes before connecting. Use your tools to tighten the nuts and bolts firmly. Think of it like assembling a DIY puzzle; each piece plays a vital role in creating a functional and leak-free faucet. Take your time for precision and alignment.
Step 6: Reconnect the Water Supply
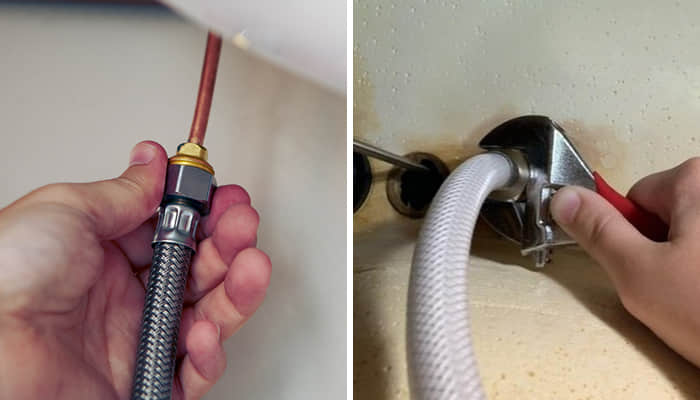
With the new faucet secure, reconnect the water supply lines. Check for leaks and tighten connections as needed. Your adjustable wrench will come in handy here.
Step 7: Test the Waters
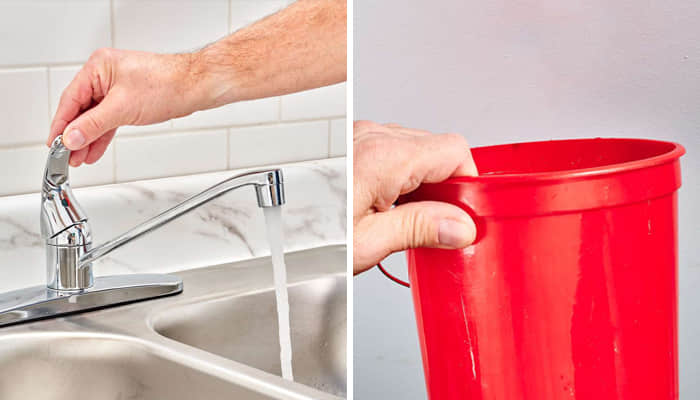
Turn the main water supply back on and test your creation. Any leaks? No worries – that’s what the bucket is for. Tighten connections, and soon enough, you’ll have a leak-free, newly installed faucet.
Step 8: Enjoy Your Handywork

Congratulations, DIY champion! Stand back and admire your work. You’ve installed a new faucet, saved money, and added sophistication to your space. Now, invite friends over and let them marvel at your DIY prowess.
FAQs About Faucet Installation
Q1: Can I install a faucet without plumbing experience?
Absolutely! Most faucets come with user-friendly instructions. If you follow the steps carefully, even without plumbing experience, you’ll successfully install your new faucet.
Q2: How long does the faucet installation take?
Plan for a couple of hours. The duration might extend a bit if you’re new to DIY projects, but the process is straightforward and becomes part of the enjoyable learning experience.
Q3: What if I encounter a problem during installation?
No need to panic. First, consult the instructions provided. If needed, explore online resources or reach out to the manufacturer’s customer support for guidance. There’s a solution for every hurdle, ensuring a smooth faucet installation process.
Q4: Can I reuse my old supply lines with the new faucet?
While it’s possible, it’s recommended to use new supply lines. Old lines may have wear and tear, increasing the risk of leaks. New supply lines ensure optimal performance and minimize the chances of plumbing issues down the line.
Q5: Do I need any specialized tools for faucet installation?
Generally, basic tools like an adjustable wrench and a basin wrench are sufficient. However, specific faucets may have unique requirements. Always check the manufacturer’s instructions to confirm if any specialized tools are needed for your particular faucet model.
Final Thoughts
There you have it – a practical guide on how to install a faucet that’s as straightforward as it gets. Not only did you save money, but you also gained valuable home improvement skills. Your upgraded space is ready to impress, so go ahead, share your success on social media, and inspire others to embark on their DIY adventures. Happy installing!