10 Easy DIY Projects That Anyone Can Do at Home
Do you want some home makeover but feel stressed about sprucing it up? Well, here are 10 easy DIY projects for everyone! No matter if you’re not super handy, these projects are totally doable.
Not only do DIY projects save you some cash, but they’re also a chance to learn handy skills. Building these skills can boost your brainpower and might even uncover new interests, giving you a confidence boost. DIY at home isn’t just useful—it’s a creative way to let your personality shine.
10. Frame a Mirror
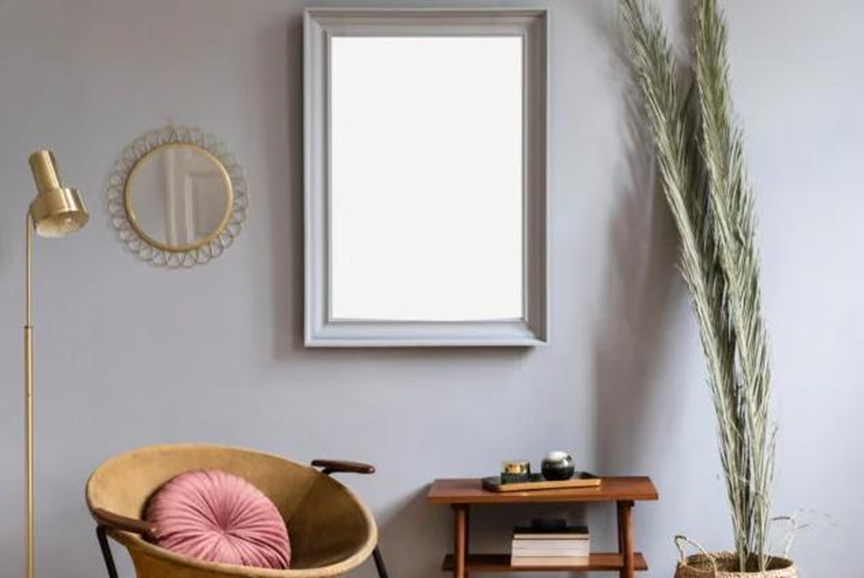
Mirror, mirror on the wall, who’s the most creative DIY-er of them all? Save on a stylish mirror by crafting your own frame. Measure your mirror, choose framing material in your preferred style, and factor in mitered corners for the lengths.
Cut a dado for the mirror to slide in, using a table saw or router. Make 45-degree cuts with a miter box for the corners, sand the wood, and assemble using silicone glue. Secure with a band clamp and optional nails. Conceal joints with caulk and hide nails with wood putty. Attach hanging hardware, paint, or stain, and hang it up!
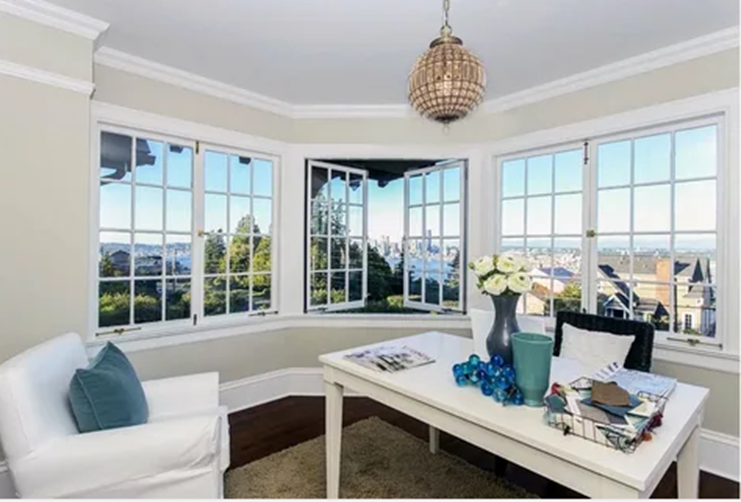
9. Seal Drafty Windows and Doors
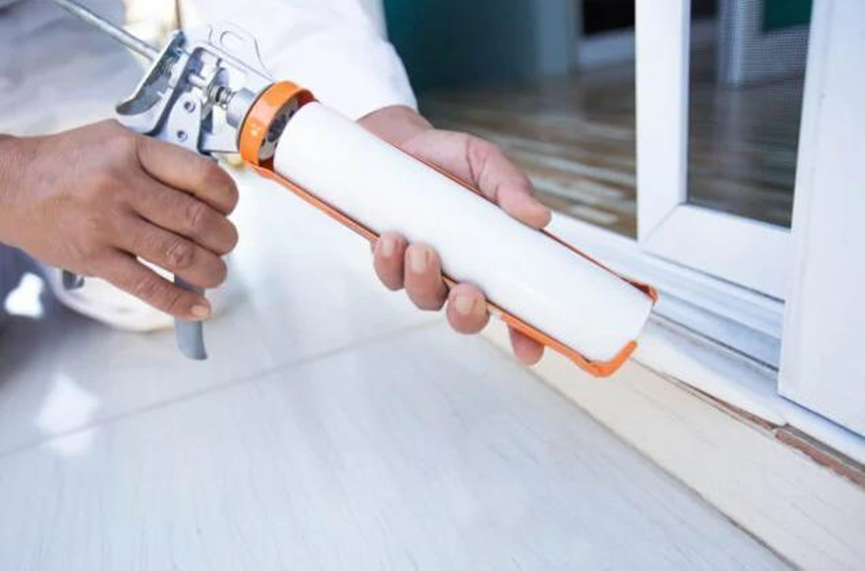
Cut your heating and cooling costs by sealing drafts in windows and doors. Opt for latex caulk as it expands more than silicone. Load it into a ratchet rod caulk gun.
After removing old caulk and cleaning it with vinegar or bleach, let it dry. Tape off the area to prevent caulk on walls. Cut the caulk tube tip at a 45-degree angle, apply a thin line with the caulk gun, and smooth it with a gloved finger. Allow 24 hours to dry.
8. Conceal Cords

Technology brings convenience but also a web of cords. Tired of the chaos? This DIY project will tidy things up quickly.
Options abound—use clear Command cord clips on electronics or furniture, explore furniture with built-in cord hiding, or create secret storage in a TV stand. Wall-mounted TV? Conceal cords with a SimpleCord Cable Concealer Kit, and for seamless blending, paint the covers to match your walls.
Consider paintable baseboard cord channels like the D-Line Cord Cover for a subtle, nearly invisible solution, as featured in our guide to top cable management solutions.
7. Line Drawers
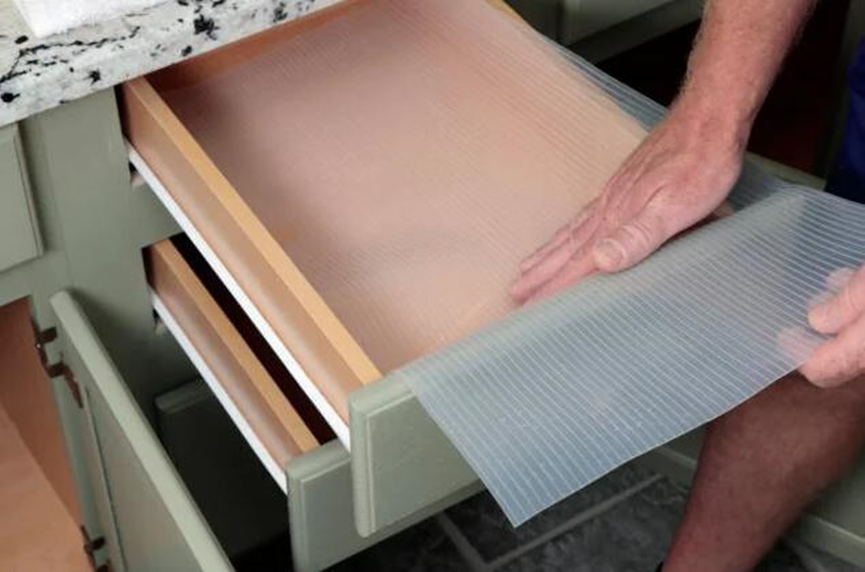
In the past, homemakers used adhesive shelf paper to line shelves and drawers for protection against stains and spills. Today, the options have expanded.
Fabric liners, washable and durable, offer a long-term solution. Plastic liners excel on open wire shelves, preventing items from slipping or falling. Foam liners provide extra cushioning for delicate items, while vinyl liners, the most budget-friendly, come in various colors and patterns. Note that adhesive-backed liners, though economical, may leave a sticky residue upon removal.
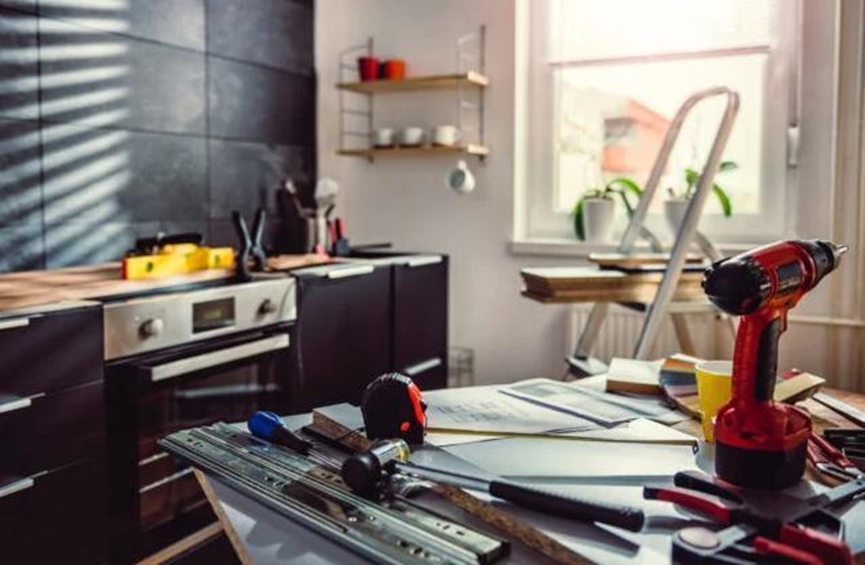
6. Tile a Backsplash

Backsplashes serve a dual purpose—practicality and aesthetics by safeguarding walls and adding decor. Choose from a variety of tile colors, sizes, and shapes for your backsplash. After selecting tiles, measure the space, mark the starting point, and use tile mastic to affix the bottom row to the wall. Insert spacers and continue, making necessary cuts for electrical outlets.
The following day, grout the tiles with a rubber float. After letting the grout set for an hour, wipe away any excess for a polished finish.
5. Paint the Front Door
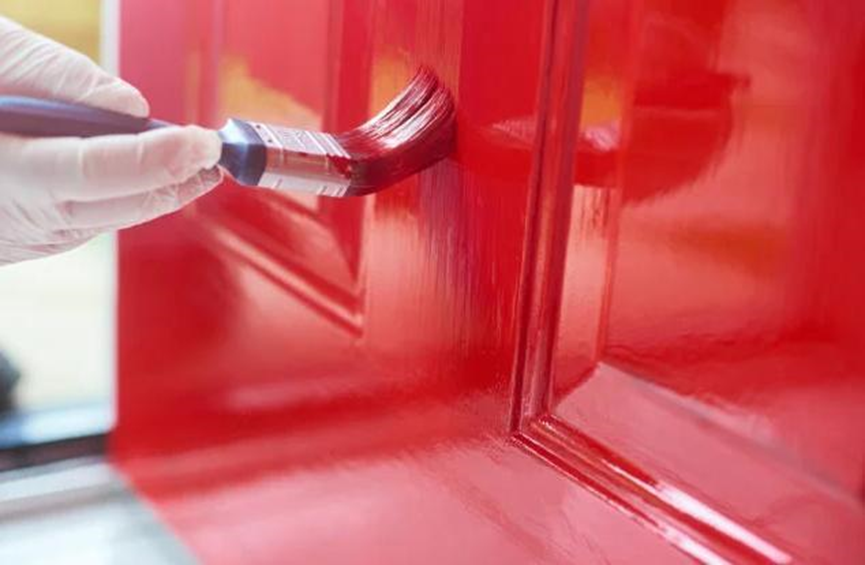
Welcome guests with a painted front door. For best results, remove the door from its hinges before starting. Prep by sanding, washing, and drying the surface. Take off hardware and cover glass panes.
Use primer or a paint-and-primer-in-one, applying two coats with drying time in between. After the final coat dries, reattach the hardware and rehang the door for a cheerful entrance.
4. Build a Shelf
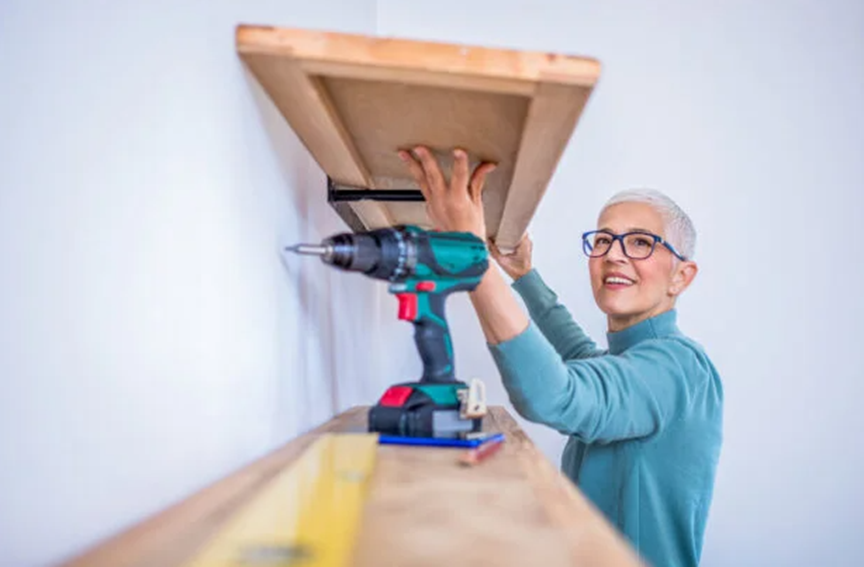
Enhance both function and style with a quick shelf addition. Identify the desired location and size for the shelf. Preferably, secure supports to a wall stud; if not, use drywall anchors, considering weight limits. For added support on longer or heavier shelves, include brackets.
Measure the desired height and bracket spacing. Drill pilot holes before securing brackets with screws. Depending on the design, some shelves rest on brackets, while others attach with screws. Prioritize strength by testing before placing breakables on the shelf.
3. Refinish Old Wood Furniture
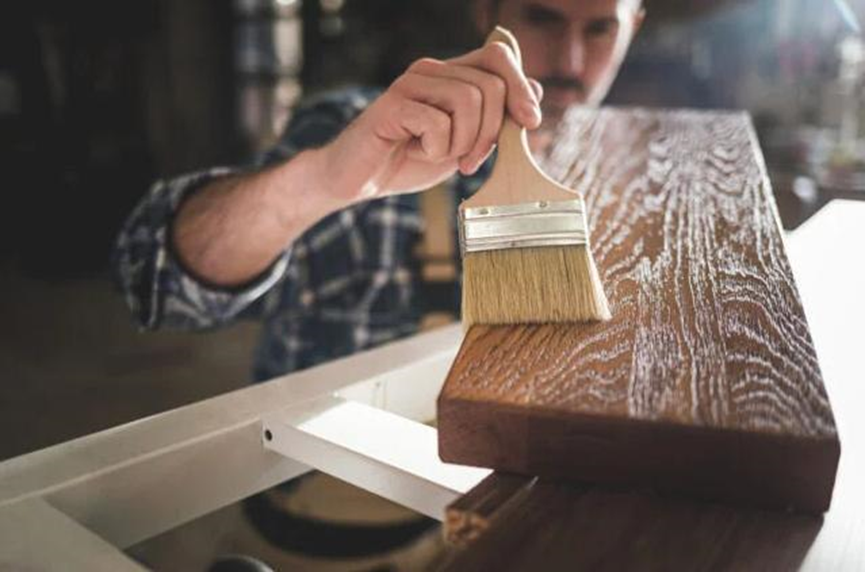
While millennials may not appreciate “brown wood,” other generations do. Whether your wooden furniture is an antique or a cherished piece, consider refinishing instead of painting. It’s a manageable project, albeit one requiring patience and skill.
For successful wood furniture refinishing, meticulous preparation is key. Thoroughly clean the piece, fill any holes with wood filler, and then strip off the old finish as per your chosen project’s directions. Employ a plastic scraper for removal. Lightly sand the surface before applying the new stain. After drying, protect it with a clear-coat finish.
2. Install a Hanging Pot Rack
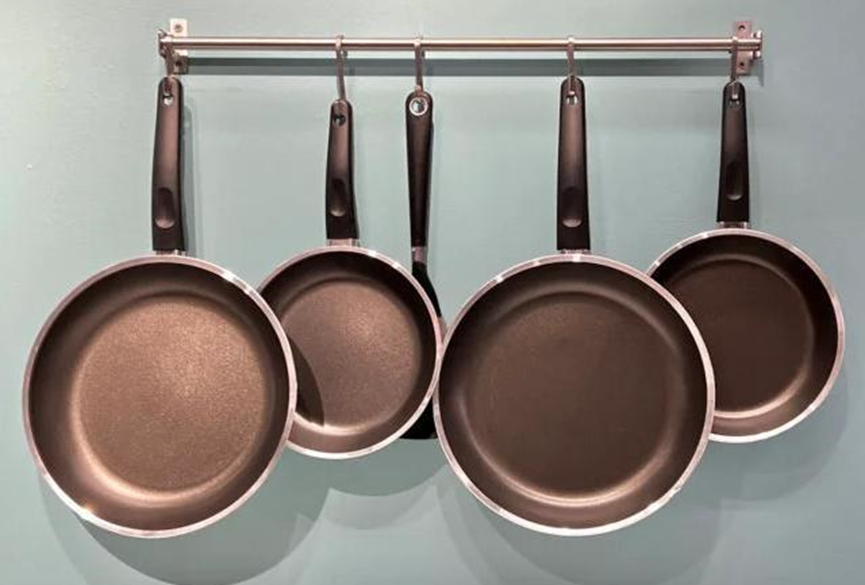
Love cooking but short on cupboard space? Opt for a hanging pot rack. Ensure it’s robust enough for your pots, and use heavy-duty hardware to prevent accidents.
While not a beginner’s DIY project, experienced individuals should drill into ceiling joists (use a stud finder if needed). Measure hole placement using the rack as a template, then attach it securely and start hanging your pots.
1. Power Wash the Small Stuff

Pressure washing isn’t limited to sidewalks and siding; it’s a versatile tool for quick cleaning. If you’re restaining your deck or just want to refresh it, start with a power wash to eliminate mold, mildew, and ground-in dirt from outdoor living.
Extend this cleaning to patio furniture, lawnmowers, bicycles, trailers, and cars before winter storage. Be cautious with paint, avoiding excessive pressure to prevent chipping. After the first frost hits, power wash the pots of summer annuals and your gardening tools before winter storage. Don’t forget to give your trash cans a thorough power cleaning—they’ve earned it.