How to Safely Remove Old Wallpaper (Without Damaging the Walls)
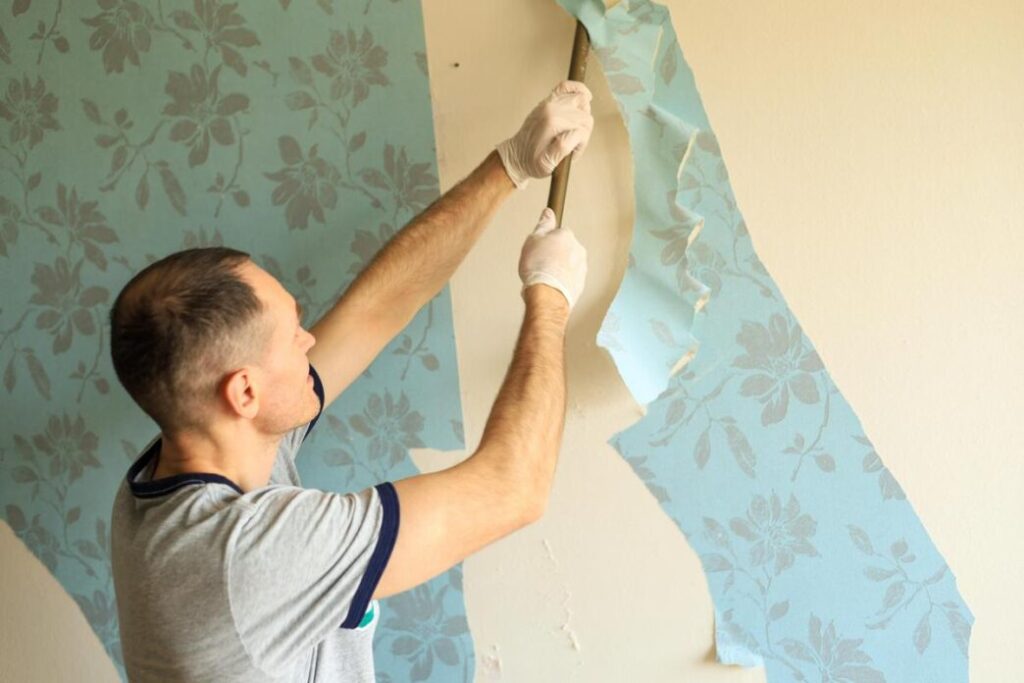
Removing old wallpaper can feel like opening a can of worms — you never quite know what you’re getting yourself into. Will it peel off in big, satisfying strips? Or will you end up scraping tiny pieces for hours, wondering why you ever started?
The good news? With the right tools and a little know-how, you can remove wallpaper without damaging your walls (or losing your mind). Whether you’re refreshing a room or prepping for a full makeover, taking the time to do it properly makes all the difference.
In this guide, we’ll walk you through each step — from prepping the room to tackling stubborn adhesive — so you can avoid common mistakes and get those walls looking smooth and clean. Ready to dive in? Let’s get started!
1.Gather Your Supplies
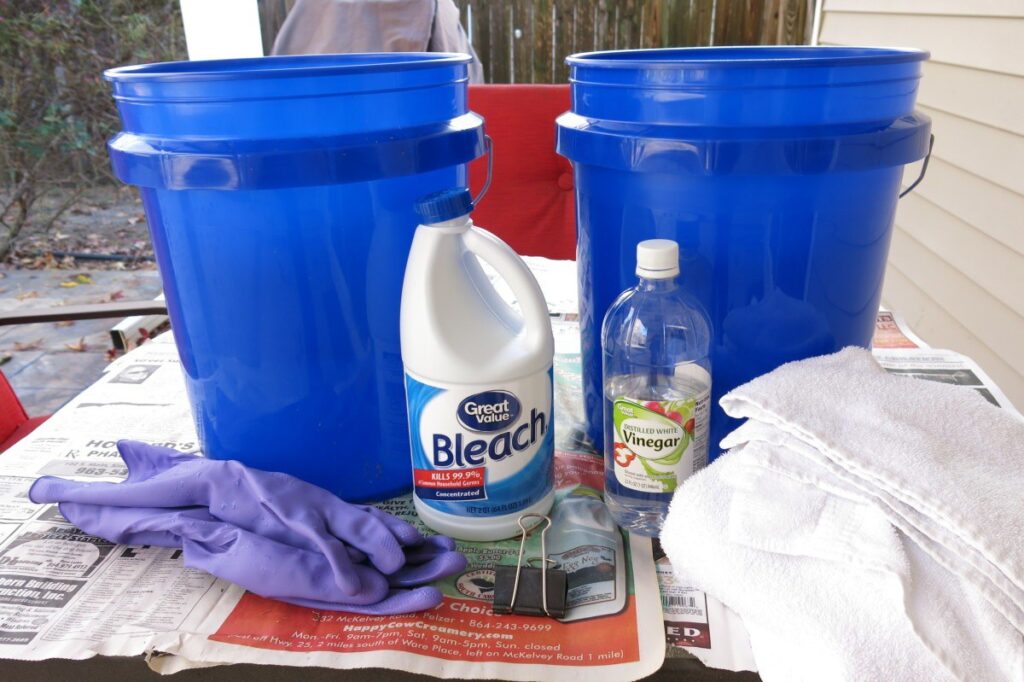
Before you start peeling away at the walls, take a moment to gather everything you’ll need. Trust me — having the right tools on hand makes the whole process smoother and a lot less frustrating. Here’s your checklist:
- Putty knife or scraper: Perfect for gently lifting the wallpaper without gouging the wall.
- Wallpaper scorer: This handy tool pokes tiny holes in the wallpaper, allowing the removal solution to soak through and loosen the adhesive.
- Spray bottle or sponge: You’ll use this to apply your removal solution evenly.
- Wallpaper removal solution: You can buy a commercial product, but a simple mix of warm water and vinegar works wonders too.
- Drop cloths and painter’s tape: Protect your floors and baseboards from drips and debris.
- Optional but helpful: Gloves and safety goggles, especially if you’re using a stronger solution.
Once you’ve got everything, you’re ready to prep the space!
2.Prep the Room
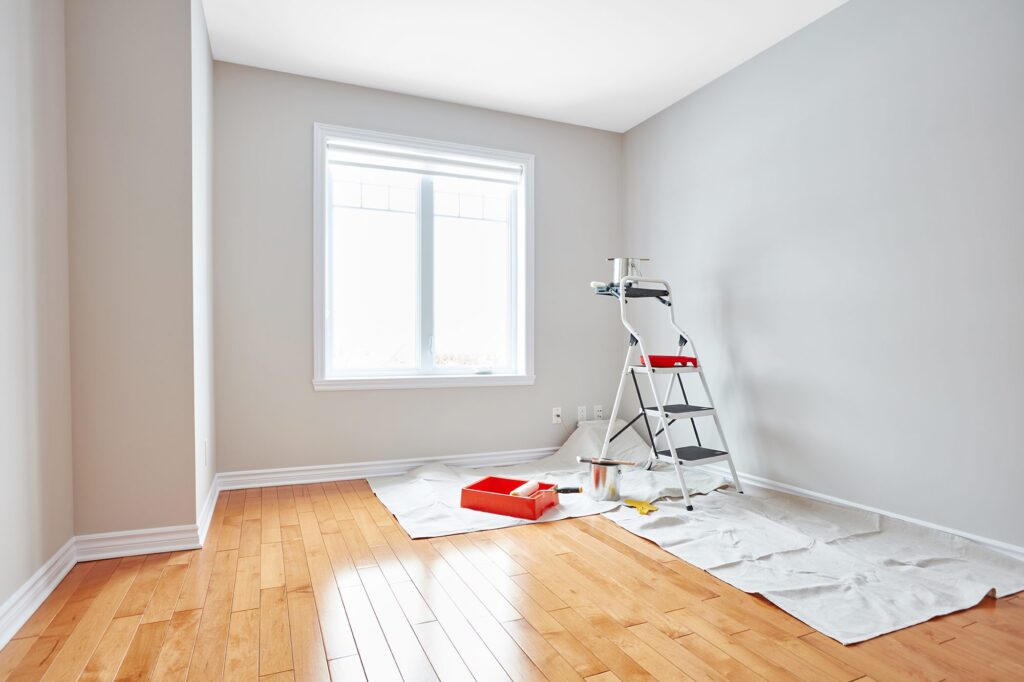
Removing wallpaper can get messy fast, so spending a few minutes preparing the room will save you from extra cleanup later. Start by moving furniture away from the walls, giving yourself plenty of space to work. If moving large pieces isn’t an option, cover them with a drop cloth or old sheet to protect them from splashes and falling paper.
Next, focus on the floors and fixtures. Lay down drop cloths to catch any wet paper scraps, and use painter’s tape to protect baseboards, window frames, and any electrical outlets or light switches. If you’ll be spraying near outlets, it’s a smart move to turn off the power at the breaker box — safety first!
With your workspace prepped and protected, you’re ready to see what kind of wallpaper you’re up against.
3.Test a Small Section
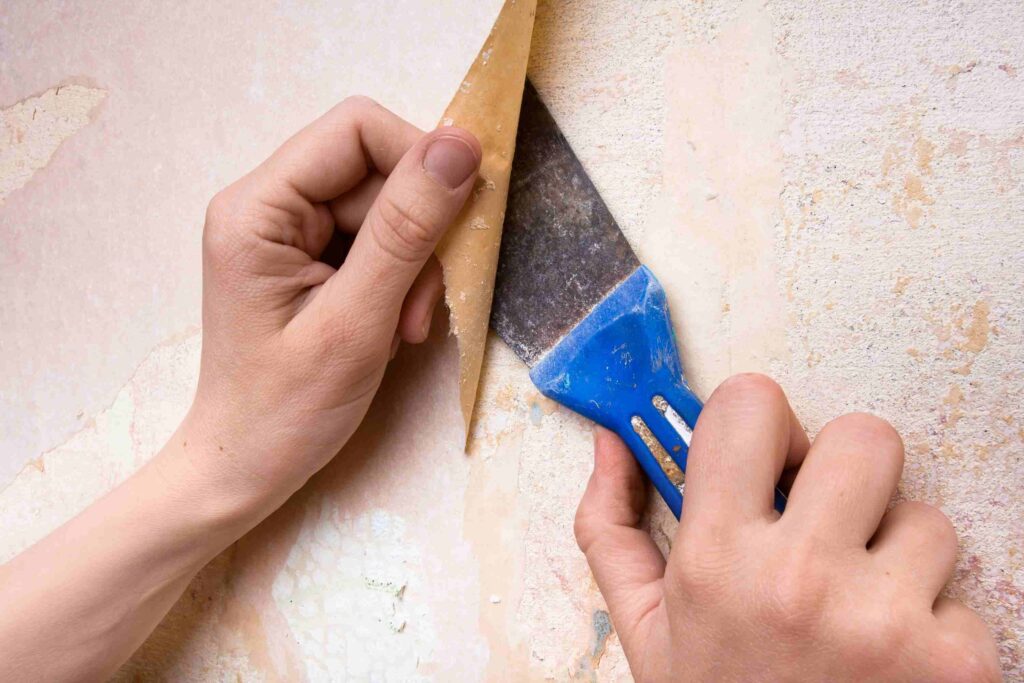
Now comes the moment of truth. Before diving into the whole wall, test a small section to understand how the wallpaper will behave — it’ll save you time and help you pick the right removal technique.
Find a corner or seam and carefully slide your putty knife under the edge. Give it a gentle tug. If the wallpaper peels off in long, clean strips, you’ve hit the jackpot — it’s strippable wallpaper, meaning the job will be much easier.
If only the top layer peels off and leaves a paper backing behind, you’re dealing with peelable wallpaper. No worries — it just means you’ll need to remove the backing separately. But if the paper refuses to budge, you’re facing traditional wallpaper, and that’s where the removal solution will be your best friend.
4.Apply the Removal Solution

Time to loosen that stubborn wallpaper! Depending on what you learned from your test section, you’ll either be tackling the top layer or going straight for the adhesive underneath.
If you’re using a store-bought wallpaper remover, follow the instructions on the bottle. Prefer a DIY solution? Mix equal parts warm water and white vinegar in a spray bottle. For extra stubborn paper, add a tablespoon of dish soap to help break down the glue.
Generously spray the wall, starting at the top and working your way down. Make sure the paper gets nice and damp but not dripping. Let it sit for about 10–15 minutes to give the solution time to work its magic. If the wallpaper dries out too quickly, spray it again. Patience is key — the more saturated the adhesive, the easier the peeling will be.
5.Start Peeling
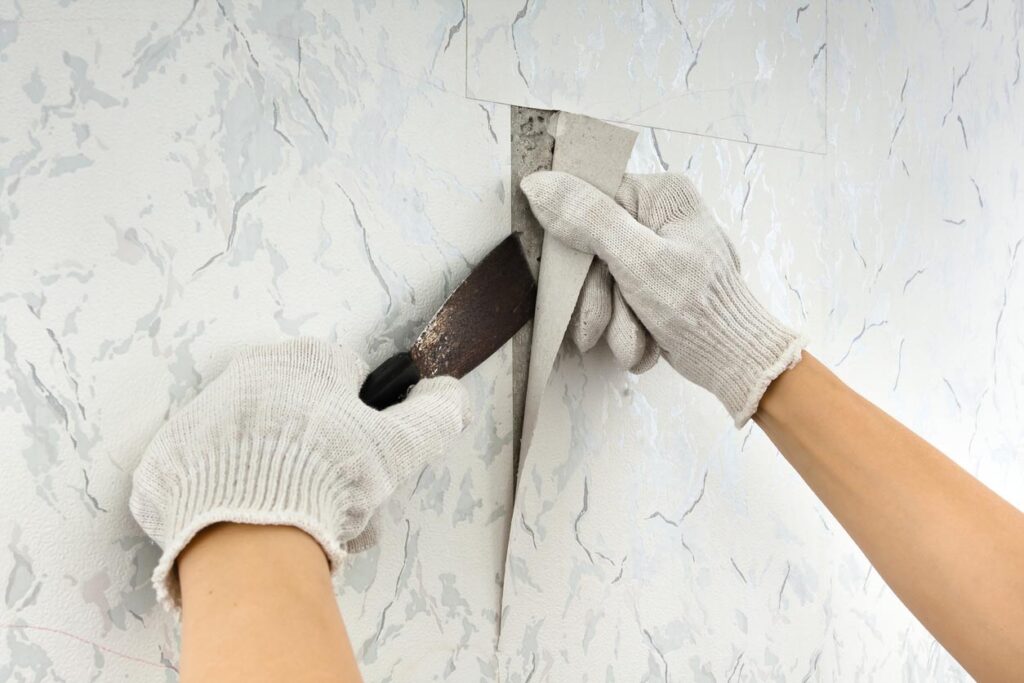
Now for the most satisfying part — peeling! Start at a corner or seam and gently lift the wallpaper using your putty knife or scraper. If you’re lucky, large strips will glide right off. But if the paper tears or resists, don’t fight it — just spray a little more solution and give it another minute to soak.
Work in sections, spraying and peeling as you go. Be gentle with the scraper to avoid damaging the drywall beneath. Slow and steady wins this race, and each clean patch of wall is a small victory worth celebrating!
6.Remove Any Leftover Adhesive

Even after the wallpaper is gone, some sticky residue might linger. No problem — a quick wipe-down will take care of it.
Mix a bit of warm water and vinegar, dampen a sponge, and scrub away any leftover glue. For tougher spots, use a putty knife to carefully scrape while the area is still wet. Don’t forget to rinse the walls with clean water afterward to remove any remaining vinegar or cleaner.
Once the walls are dry, you’ll be left with a smooth surface, ready for paint, new wallpaper, or whatever creative touch you’ve got in mind. Step back and admire your handiwork — you did it!
7.Inspect and Repair the Walls
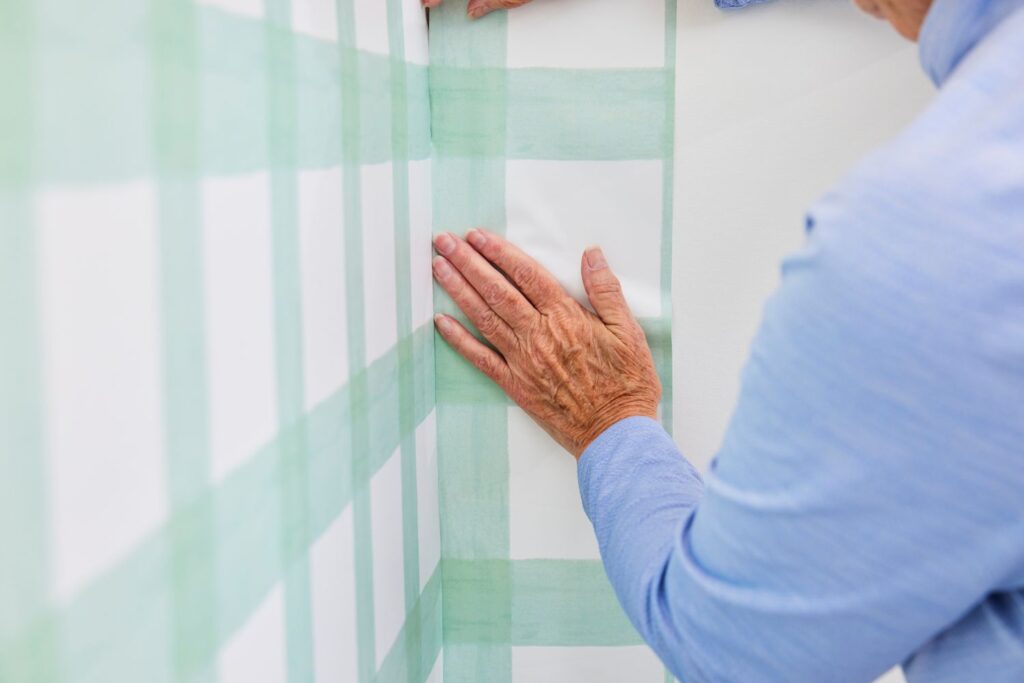
With the wallpaper and adhesive gone, it’s time to give your walls a good once-over. Look closely for any dents, dings, or tiny holes that might have been hidden under the wallpaper. Even if you were super careful, some minor damage is pretty common.
If you spot imperfections, don’t worry — they’re easy to fix. Grab a bit of spackling paste and a putty knife, and fill in any holes or cracks. Once the paste dries, gently sand the area until smooth. This extra step ensures your walls are perfectly prepped for whatever comes next, whether it’s a fresh coat of paint or new wallpaper.
8.Final Cleanup and Next Steps
You’re almost done! Now it’s time to tidy up. Roll up the drop cloths, sweep up any leftover paper scraps, and wipe down the walls one last time with a damp cloth to catch any lingering dust or adhesive. Don’t forget to remove the painter’s tape from outlets and baseboards.
As you step back and admire your smooth, clean walls, the possibilities are endless. Whether you’re repainting, adding new wallpaper, or leaving things as they are, your room is now a blank canvas, ready for its next chapter.
Job well done!
