How to Get a Sparkling Stove: Easy DIY Cleaning Methods
A clean stove is the cornerstone of a sparkling kitchen. But let’s be honest—it’s also one of the toughest spots to keep pristine. Burned-on food, grease splatters, and stubborn stains can make even the most dedicated home cook want to hide their stove under a dish towel.
The good news? You don’t need a cabinet full of harsh chemicals to get your cooktop looking brand new. With a few simple pantry staples and the right technique, you can tackle any type of stove and bring back its shine. This guide will walk you through the DIY cleaning methods for the most common stovetop types, ensuring your kitchen is always ready for its close-up.
First, a crucial step for every stove: Always make sure the surface is completely cool before you begin cleaning. This prevents burns and protects your cooktop from damage.
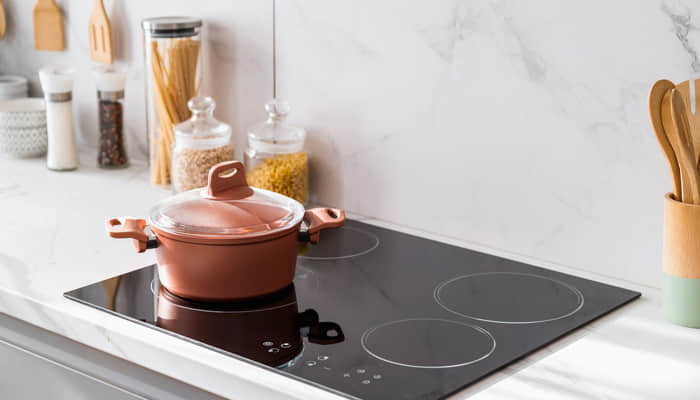
Method 1: How to Clean a Glass/Ceramic Cooktop
Glass and ceramic cooktops are sleek, but their smooth surface can make burned-on messes seem impossible to remove. The key is to be gentle and patient to avoid scratches.
For Daily Spills and Light Grime:
A simple solution of white vinegar and water is your best friend here.
Fill a spray bottle with a 1:1 mixture of white vinegar and water.
Lightly spray the entire cooktop surface.
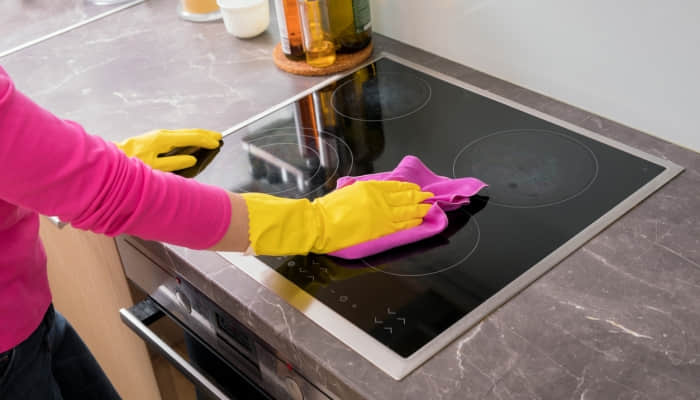
Wipe with a soft, clean microfiber cloth to remove grease and fingerprints.
Dry the surface with a separate, clean microfiber cloth to prevent streaks.
For Tough, Burnt-On Food:
This is where the magic of baking soda comes in. Its mild abrasive quality works wonders without scratching the glass.
Sprinkle a liberal amount of baking soda over the stained areas.
Dampen a large dish towel or a few washcloths with hot water and wring them out so they’re not dripping.
Lay the warm, damp towel over the baking soda, creating a poultice.
Let it sit for at least 15-30 minutes. This gives the baking soda time to break down the grime.
Remove the towel and use it to gently scrub the surface in circular motions. The baking soda will act as a non-abrasive scrubber.
Wipe up all the residue with a clean, damp cloth.
Finish by spraying with your vinegar solution and buffing with a clean cloth for a streak-free shine.
Expert Tip: For extremely stubborn spots, you can carefully use a cooktop razor scraper. Hold the blade at a low angle (around 45 degrees) and use a gentle, firm motion to lift the residue. Always follow the manufacturer’s instructions.
Method 2: How to Clean a Gas Stove

Gas stoves have a more rugged, industrial look, but their grates and burner caps can be a challenge. The key is to soak and scrub.
Step 1: The Soak
Remove the cast iron grates and burner caps from the stovetop.
Fill a sink or a large basin with very hot water and a generous amount of grease-cutting dish soap.
Submerge the grates and burner caps in the soapy water. For heavily soiled items, you can add a half-cup of white vinegar or baking soda to the water for extra degreasing power.
Let them soak for at least 30 minutes, or longer for tough messes. The goal is to loosen all the gunk.
Step 2: The Scrub
After soaking, use a non-abrasive scrub brush or sponge to scrub away the loosened food and grime. For extra power, you can sprinkle some baking soda directly onto the grates as a scrubbing agent.
Rinse the grates and caps thoroughly with clean water.
Dry them completely with a towel before returning them to the stove. This is important to prevent rust.
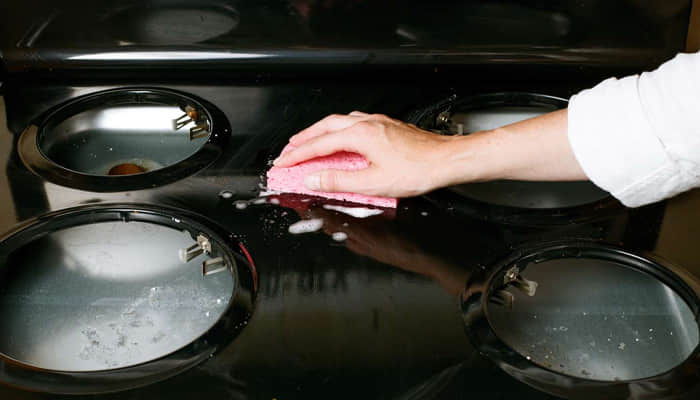
Step 3: Cleaning the Stovetop
While the grates are soaking, clean the stovetop itself. Use a simple solution of dish soap and hot water, or a baking soda paste (made with baking soda and a little water).
Apply the paste to the stovetop and let it sit for a few minutes.
Gently scrub the surface with a sponge, then wipe it clean with a damp cloth.
Important: Be careful not to get the burner ports or gas orifices wet.
Method 3: How to Clean an Electric Coil Stove
Electric coil stovetops have a reputation for being difficult to clean, but they’re simpler than they look. The secret is knowing how to access the drip pans underneath.
The Drip Pans:
Ensure the stove is unplugged and the coils are cool.
Carefully lift each electric coil from its base. Most models simply unplug by gently pulling them up and out.
Remove the metal drip pans. You’ll likely find a collection of baked-on drips and crumbs.
For light cleaning, wash the drip pans in hot, soapy water. For a deep clean, sprinkle them with baking soda and then pour a small amount of white vinegar over them. The fizzing reaction will help break down the tough residue. Let them sit for 15-20 minutes, then scrub and rinse.
The Coils:
The coils themselves should never be submerged in water. For a deep clean, you can place them on a baking sheet and put them in the oven during its self-cleaning cycle (check your oven’s manual first!). Alternatively, you can follow these steps:
With the coils removed, hold them over a garbage can.
Use a non-abrasive brush to gently brush off any loose crumbs.
Wipe the coils with a damp cloth to remove any light residue.
The Surface Underneath:
Once the drip pans are removed, you can lift the entire stovetop to clean the area underneath.
Use a damp sponge with a little dish soap or a baking soda paste to wipe away any messes.
Dry the area completely before replacing the drip pans and coils.
Final Safety & Cleaning Tips

Always Unplug: For electric and induction stoves, always unplug the appliance before cleaning to prevent electric shock.
Avoid Abrasives: Never use steel wool or harsh scouring pads on any cooktop surface, as they can cause irreversible scratches.
Clean as You Go: The easiest way to keep your stove clean is to wipe up spills and splatters as soon as they cool down.
Patience is Key: For tough messes, let the cleaning solution or paste sit and work its magic. A little waiting time can save you a lot of scrubbing.
With these simple, DIY methods, your stove will be sparkling clean, ready for your next culinary creation.