How To Bring Old Hardwood Floors Back To Life
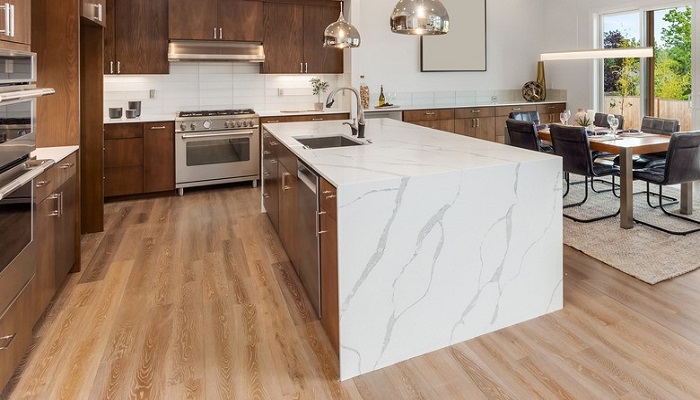
Hardwood floors are like the rock stars of home flooring, right? They’re super popular and can really boost your home’s resale value. But let’s be real, they take a beating over time – scratches, scuffs, and just looking a bit worn out, especially with all the hustle and bustle from people and pets. Even after a good cleaning, they might still seem a bit dull. But before you go throwing rugs on them, refinishing, or splurging on replacements, why not try some tricks to bring them back to life? I mean, these floors are not just pretty faces; they can stick around for ages if you give them a little love.
Absolutely, when it comes to solid hardwood floors, appearances can be misleading. These floors might just need a bit of a pick-me-up, like a thorough cleaning, using a restoring liquid, or applying a fresh coat of wax. We’ll mainly focus on some DIY methods first, and if none of those do the trick, then maybe it’s time to call in the pros. But hold on, let’s dive into some tips on how to revive those old hardwood floors for now.
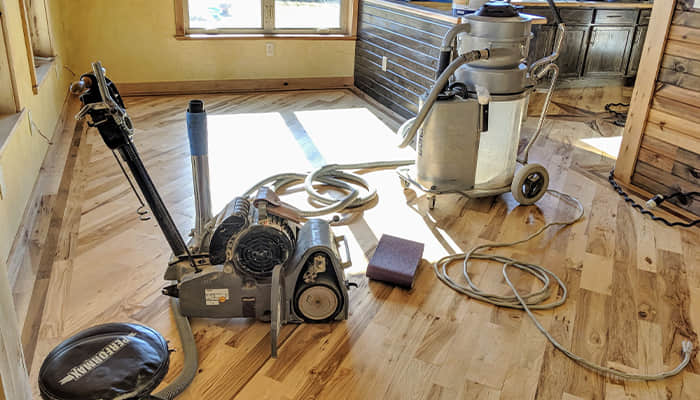
Rent a commercial-grade buffer
For those rocking wood floors with a common polyurethane finish, I suggest grabbing a commercial-grade buffer to tackle those pesky scratches that made it past the surface. Now, the buffer won’t work miracles on scratches deep into the wood, but it’s a champ at dealing with the minor nicks on the finish. Opt for one with a water tank for this mission, and don’t forget to grab the pads and finishing product – your friendly neighborhood home improvement store can hook you up with those.
Before you dive into the buffing adventure, it’s prep time! Clear the stage by moving all the furniture and anything else hanging out in the room. Give those curtains a lift and bid farewell to any metal grates or vents. Once you’ve got a clean slate, hit the surface with a wood floor cleaner, ensuring it’s nice and dry.
Now, safety first! Pop on a trusty safety mask and make sure your space is well-ventilated – we’re talking fumes from the finishing solution here. Apply the solution to the floor either with a mop or a spray applicator. Start buffing from the corners, working your way in, but don’t let that machine linger in one spot for too long unless you want some unintended floor damage. These machines pack a punch, so tread carefully! Want that extra shine? Go for a second round of buffing and finishing. Now you’re ready for floor brilliance!
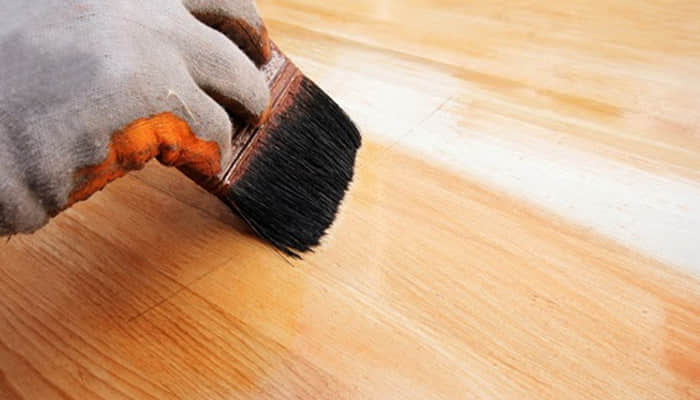
Use a hardwood floor polishing sealant
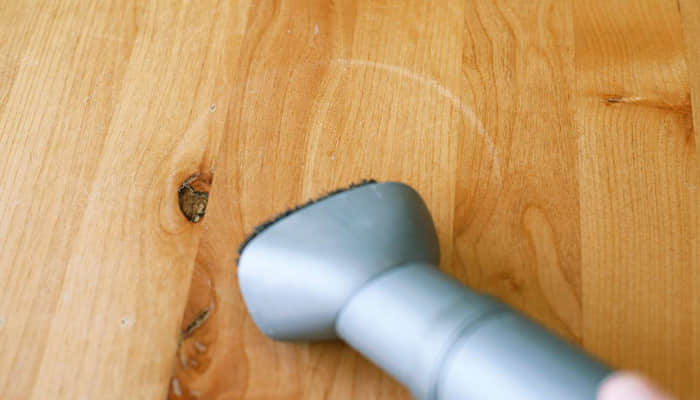
Here’s another trick up your sleeve – a hardwood floor polishing sealant. To work its magic, kick off with a vacuum session using a soft brush attachment, getting rid of any dust or debris that’s crashed the party on your floor. It’s a tag team effort for a floor that’ll be turning heads!
Getting down to the nitty-gritty, using this cleaner is a breeze. Just aim, spray directly on the floor, and enlist a mop with a microfiber cleaning pad to give that area a solid scrub. I won’t lie – this step is the real workout because you want those floors spick and span before the polishing magic begins. If you’re not breaking a sweat, you’re not doing justice to your floors! Once your hard work has paid off, let the floors chill and dry before moving on to the next act.
Now, onto the polishing show. Grab a polishing pad for your mop, crafted from a material akin to lamb’s wool that’s gentle on your wood. Pour the polish on the floor, and let the mop work its charm, spreading the love evenly. No need for hardcore scrubbing here; just mosey your way out of the room as you usually would. This polish not only seals the surface but also plays a superhero by filling in those light scratches, just like the restorer. And the best part? No residue left behind – it’s a clean sweep!
Remove lighter scratches with nuts
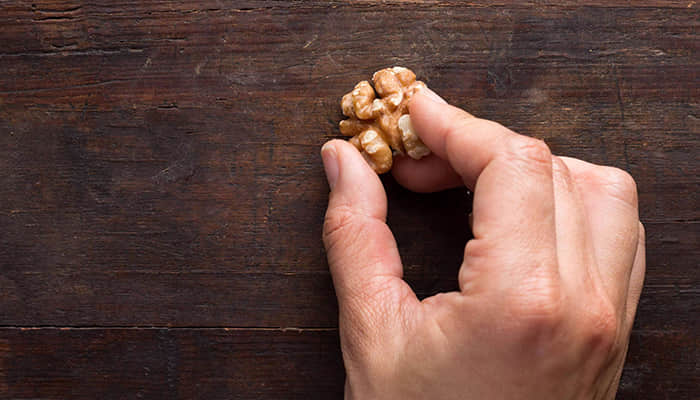
Here’s a quirky trick for hiding those tiny scratches, maybe from a mischievous cat – enter the world of nuts! While walnuts take center stage, you can recruit any oily nut like macadamias, pecans, almonds, Brazil nuts – the nut squad, you know. Let’s stick to walnuts for now. It’s a breeze, really! First, use your finger to vigorously rub over the scratch, creating some friction and warmth. Then, swiftly grab a walnut, crack it open, and use the “meat” part to buff away those marks.
Get into it – rub that walnut back and forth into the scratch, covering it well and hitting it from all angles. Give it a couple of minutes for the natural oils to work their magic into the wood, and behold the difference. After this nutty treatment, wipe it down with a clean cloth, and boom! Scratch, who? That’s the walnut wizardry for you!
Remove white water stains from wood floors
Hardwood floors, especially mahogany, oak, or walnut, may develop dark stains due to tannic acid discoloration, with higher tannin levels in these tree types. Black water stains are another culprit, often ingrained in the wood itself, potentially requiring sanding and refinishing.
Here are some home recipes. Mix equal parts white vinegar and warm water, using a microfiber cloth to scrub the stain and eliminate odors. Hydrogen peroxide is another option to banish dark stains. Soak a clean, soft cloth in peroxide, wring out excess, and place it on the stain overnight or for at least eight hours. Check the progress and extend the duration if needed. Say goodbye to those pesky stains!
If all else fails, hire a professional and refinish

While hardwood floors are resilient, there might be instances where none of the DIY restoration options yield the desired results. In such cases, calling in a professional for refinishing becomes the next move, as highlighted by Forbes. Refinishing, however, is not a DIY project for homeowners to tackle alone. Before making the call, a preliminary test can be done by applying a bit of water from a sponge to the floor. If the water beads can be easily wiped up, other solutions may be worth exploring. If not, and the finish is gone, refinishing is likely necessary.
In the event of refinishing, choosing the right professionals for the job is crucial. Forbes recommends obtaining at least three bids from reputable wood floor refinishing specialists. Ensure they have a solid track record, having been in business for a substantial period with a good reputation. It’s wise to check the Better Business Bureau and your state’s Contractor’s Licensing Board to confirm their credentials and ensure there are no pending lawsuits or actions against the company or contractor. While refinishing represents a significant investment, taking these steps can save you from potential problems and headaches down the road.