A Step-by-Step Guide to Changing a Light Bulb
Changing a light bulb is one of the first home improvement tasks many people learn. However, with the growing variety of light bulbs and fittings, it can sometimes seem more complicated than it needs to be. This guide will walk you through the steps to change different types of household light bulbs, including what to do when you have a broken or stuck bulb. Follow these steps to ensure a smooth and safe light bulb replacement.
What you’ll need:
- New light bulb
- Gloves
- Ladder or step stool(Optional)
- Light bulb changing kit with extender pole (Optional)
- Needle-nose pliers (Optional)
- Protective eyewear (Optional)
- Tape (Optional)
1. Confirm the Wattage
Before you start, check the wattage rating of your fixture. Your new bulb should not exceed this rating to avoid overheating and potential fire hazards. This information is usually found on or near the socket. For fixtures with multiple bulbs, ensure the total wattage does not exceed the maximum rating.
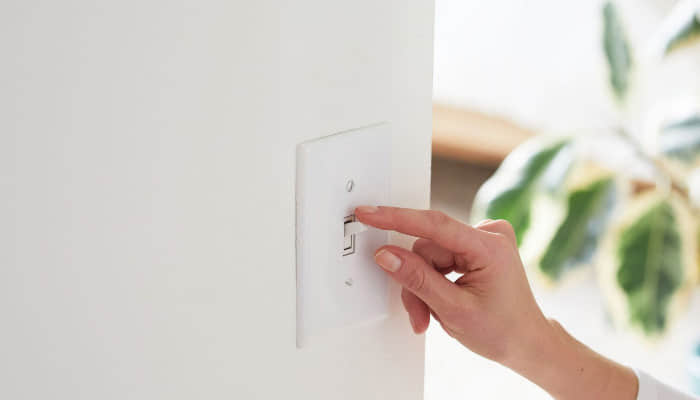
2. Turn Off the Power
Always turn off the power before working with electrical fixtures to avoid shocks.
- If the fixture is connected to a switch, make sure it’s in the off position.
- For plug-in fixtures, switch them off and unplug them.
- If unsure, turn off the relevant circuit breaker or fuse box.
3. Let the Bulb Cool
Allow the bulb to cool before handling it, especially if it’s an incandescent, halogen, or CFL bulb. You can take the back of your hand close to the bulb to check if it’s still warm. The main purpose of doing this is to avoid burning yourself and the potential for bulb breakage.
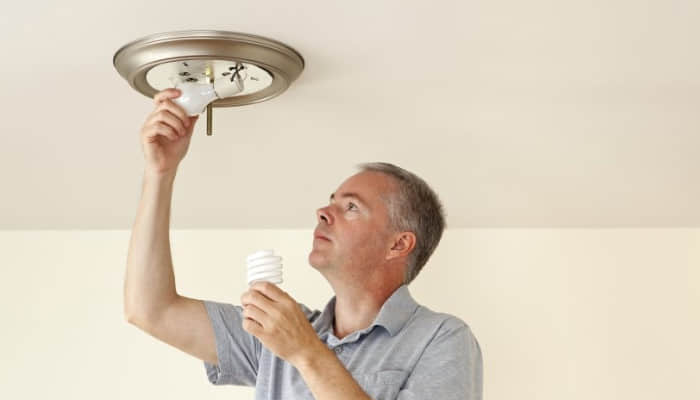
4. Use a Ladder or Stool To Reach the Bulb
For overhead fixtures or lights that are out of reach, the safest option is to use a sturdy step stool or an A-frame ladder. Avoid standing on chairs or other unstable objects, as this could lead to falls and injuries. If you don’t have appropriate climbing tools, a light bulb changing kit with an extender pole can also conveniently reach high ceilings.
5. Remove the Bulb
To install a new light bulb, you need to remove the old one. The exact method for removing the old bulb depends on its type and fitting:
- Screw Fitting: Turn the bulb counterclockwise until it is loose.
- Fluorescent Tube: Use both hands to support and twist the tube counterclockwise until it snaps out of place. Confirm that the fitting is not burned or darkened. If it is, contact a local electrician to inspect the fitting.
- GU Fitting (Halogen/LED): Wear gloves, press the lamp inward, and turn it counterclockwise while applying pressure. If the lamp is stuck, wiggle it until the cylindrical wings align with the openings.
- CFL: Grasp the plastic base (ballast) and pull up until the bulb pops out. Wiggle gently if the pins catch.
To replace a bulb in a dome fixture, follow these steps:
- Remove the Dome: Start by carefully lifting the dome upwards. It may require gentle force to dislodge it.
- Unlock the Mechanism: If your dome has a notch or catch, you’ll need to lift, twist, and then pull it down to release it.
- Detach Screws or Clips: For domes secured with screws or clips, manually loosen and remove each one. This will allow you to safely detach the dome without causing any damage.
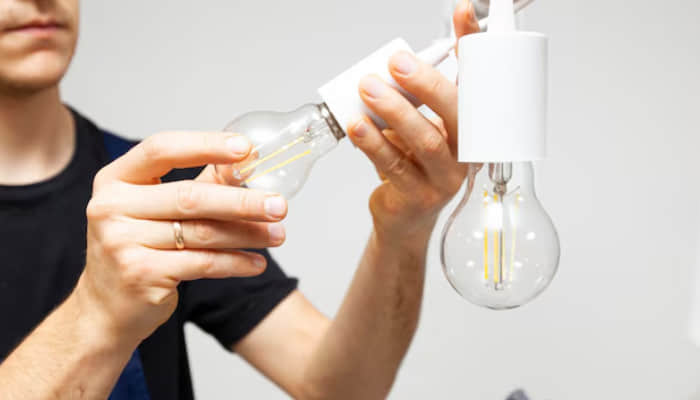
6. Insert the New Bulb
Install the new bulb based on the type of fitting:
- Screw Fitting: Align and turn the bulb clockwise until it’s tight.
- Fluorescent Tube: Align the pins with the ballast and twist until it clicks into place.
- GU Fitting: Fit the prongs into the socket openings, press inward, and turn clockwise until tight.
- CFL: Align the pins with the fixture openings and push until it locks.
7. Confirm the Bulb Works
After the installation of a new light bulb is done, don’t rush to put away the tools and dispose of the old bulb. Switch the power back on and test the new bulb to ensure it’s working properly.
8. Safely Discard the Old Bulb
Every bulb has a different chemical composition, so you’ll need to ensure you take the proper steps to dispose of them responsibly.
- Incandescent Bulbs: These can be thrown away with regular trash. To ensure safety, wrap them in the packaging from your new bulb or use paper towels to prevent glass shards from scattering.
- Halogen Bulbs: It’s best to recycle these, but finding a recycling center that accepts them can be challenging. Reach out to your local waste management or recycling services for guidance. If recycling isn’t an option, dispose of them in the trash with the same precautions as incandescent bulbs.
- Fluorescent Tubes: These are not suitable for curbside pickup due to their mercury content and the risk of breakage. Instead, reach out to a local recycling center or use one of the designated drop-off locations for safe disposal.
- CFL Bulbs: They are recyclable at facilities that handle mercury-containing bulbs. Locate a nearby recycling center or drop-off point that specializes in the disposal of such materials.
- LED Bulbs: While many recycling centers do not accept LEDs due to their content of hazardous substances like lead and arsenic, it’s worth checking with your local facilities. If recycling is not possible, follow the disposal guidelines for your area.