10 Affordable Bathroom Renovations You Can Do Yourself, According to Reno Pros
Let’s face it—bathrooms are some of the most used rooms in the house, yet they often get neglected when it comes to renovations. Maybe it’s because of the cost, the mess, or the fear of plumbing disasters. The good news? You don’t need to break the bank or hire a full crew to give your bathroom a fresh, modern look. We asked renovation pros for their top tips on affordable DIY bathroom upgrades, and the results might surprise you.
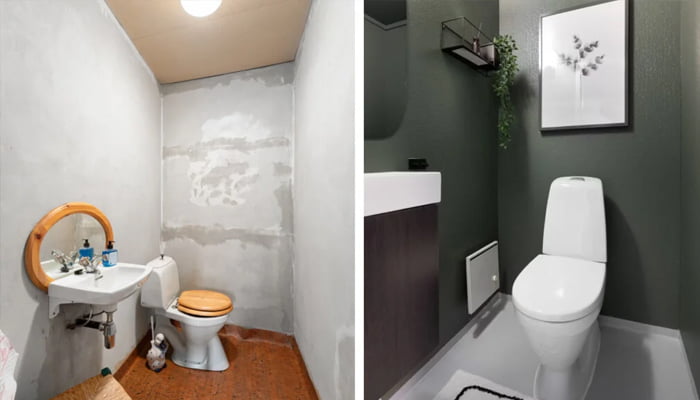
1. Refresh with Paint (Even on Tiles!)
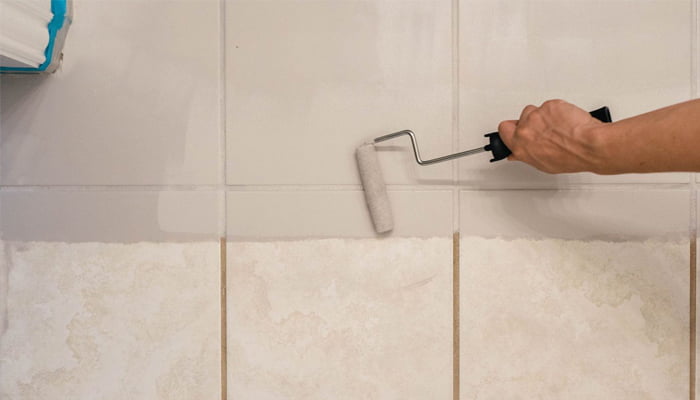
One of the easiest and cheapest ways to transform a bathroom is with paint. “You’d be amazed at the difference a fresh coat of paint can make,” says Jenna Li, a renovation contractor from Toronto. Walls, ceilings, and even cabinets get a new lease on life with a color change.
If you’re feeling bold, try painting your tiles. Yes, it sounds crazy, but there are tile-specific paints that adhere well and resist moisture. The trick? Proper prep. Clean the surface thoroughly, sand it lightly, and use a primer. Your bathroom will look brand-new without the cost or hassle of ripping out tiles.
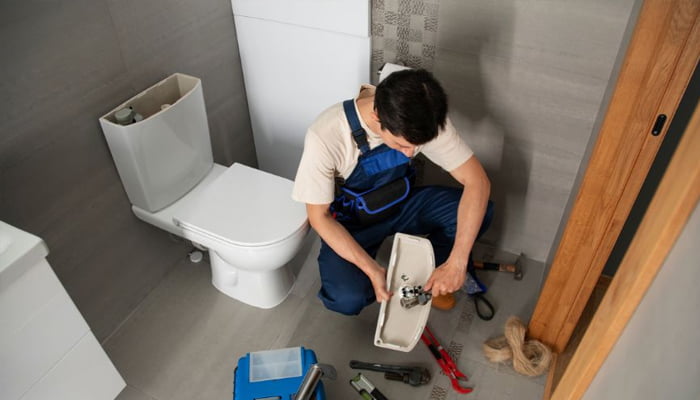
2. Upgrade Fixtures Without Full Replacements
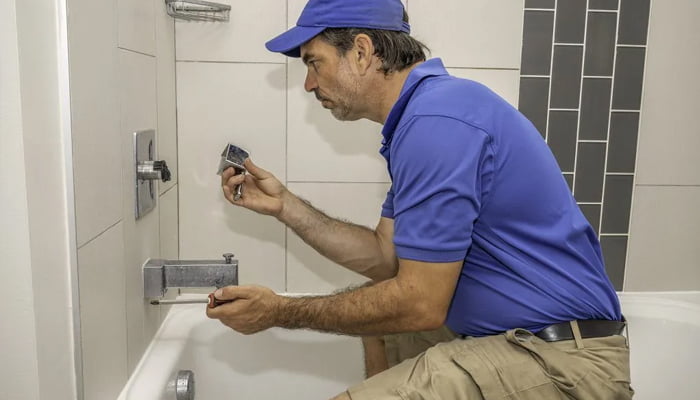
Swapping out old faucets, showerheads, and cabinet handles is another low-cost, high-impact option. “It’s like giving your bathroom a facelift without surgery,” says Marc Sullivan, a DIY renovation blogger. Modern finishes like matte black, brushed nickel, or gold-tone can instantly elevate the space.
Pro tip: Look for combo sets online. Often, you can score matching faucets and handles for a fraction of what a hardware store would charge. And installation? Most are designed for DIYers with basic plumbing skills—just make sure you turn off the water first.
3. Peel-and-Stick Solutions Are Your Friend
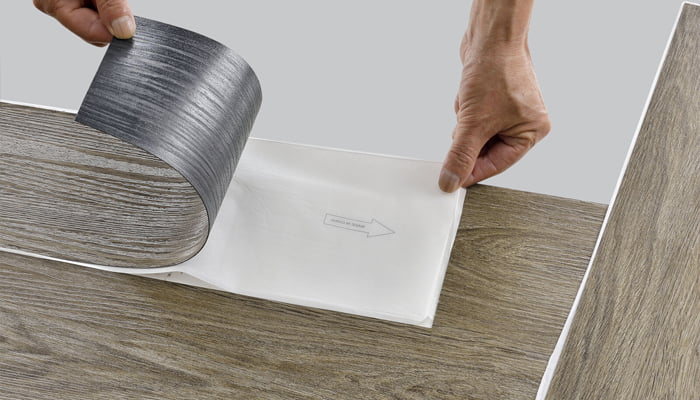
Not ready to commit to full tile or flooring replacements? Peel-and-stick products are a game-changer. From waterproof vinyl flooring to backsplash tiles, these materials are designed for easy installation.
“I installed peel-and-stick tiles behind my bathroom sink in an afternoon,” says Sarah Kim, a Reno enthusiast from Seattle. “It added style and protected the wall without any messy grout or specialized tools.” The key is patience—measure carefully, apply slowly, and press firmly to avoid air bubbles.
4. Update Lighting for a Modern Feel
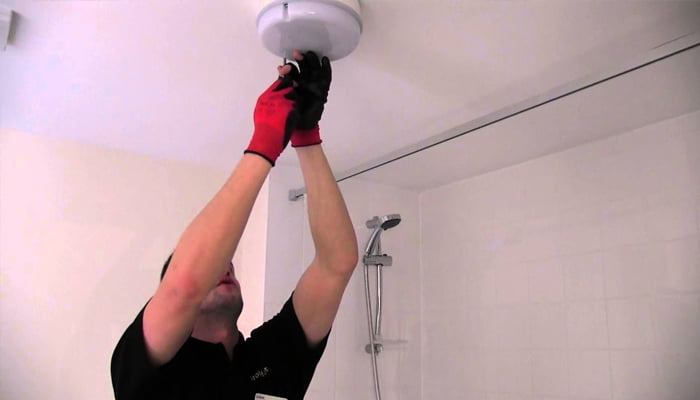
Lighting is often overlooked, but it can make or break the mood in a bathroom. Swapping out old fixtures for energy-efficient LED options brightens the space and adds a modern touch.
“Even small changes like adding a vanity light above the mirror can transform the way the room feels,” says Tony Delgado, an electrician and home renovation expert. Warm white lights create a spa-like atmosphere, while cool lights are perfect for task-oriented spaces. And don’t forget dimmers—they’re inexpensive and give you control over ambiance.
5. Install Open Shelving or Floating Cabinets

Storage is a common bathroom headache. Instead of expensive custom cabinetry, consider open shelving or floating cabinets. They’re easy to install, give you a sense of openness, and can be styled with baskets, towels, and décor.
Reno pros suggest measuring carefully and using a stud finder to anchor shelves securely. “Even a single floating shelf above the toilet can look intentional and chic,” says Jenna. Plus, it’s a great way to display plants, candles, or small accessories.
6. Focus on Small Details
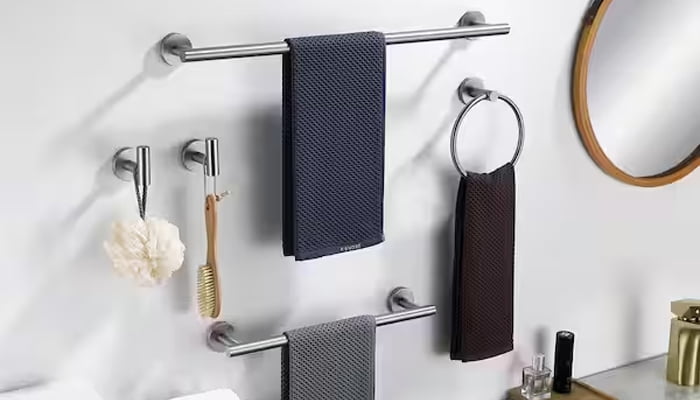
Sometimes, it’s the little things that make the biggest difference. Replacing an outdated shower curtain, upgrading the toilet seat, or adding a new rug can refresh the space instantly. Even a framed mirror instead of a plain one adds personality and style.
Small hardware changes, like towel bars, hooks, or a soap dispenser upgrade, can also give your bathroom a more cohesive look without costing a fortune.
7. DIY Caulking and Grout Touch-Ups
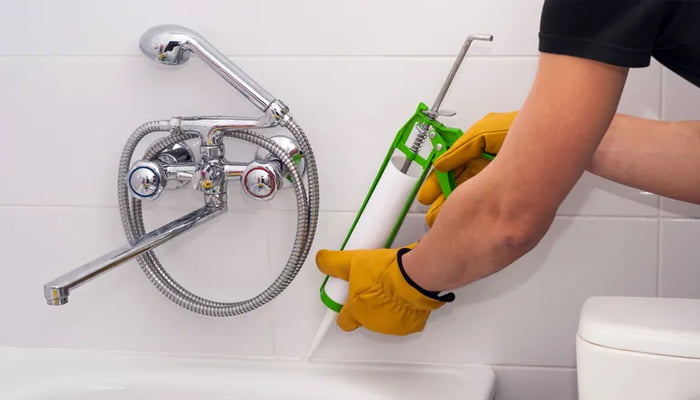
Grime-filled grout lines or cracked caulking can make even a newly renovated bathroom look neglected. Re-caulking or refreshing grout is something most DIYers can handle with minimal tools: caulk gun, silicone, and a steady hand.
“People often overlook these finishing touches, but they make a huge visual difference,” says Marc. Make sure surfaces are clean and dry before applying, and smooth it out with a damp finger or tool for a polished look.
8. Consider Temporary Countertop Upgrades
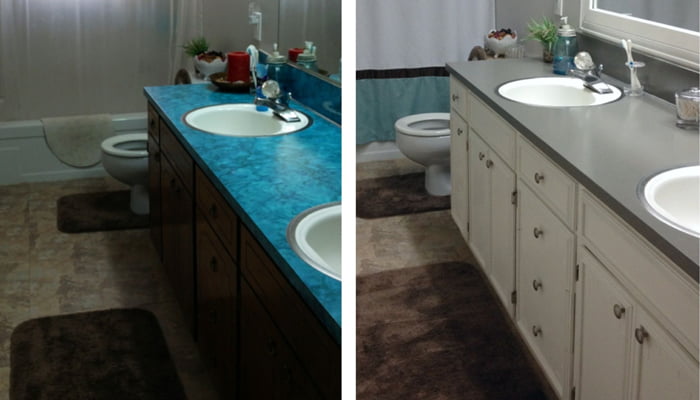
If your countertop is worn but you don’t want a full replacement, there are some DIY-friendly options. Countertop refinishing kits, adhesive laminates, or even paint designed for countertops can transform your vanity.
Tony notes, “Temporary doesn’t mean cheap-looking. With a bit of patience, you can mimic materials like marble or concrete for a fraction of the cost.” These fixes are especially handy if you’re renting or planning a more extensive remodel later.
9. Add Greenery
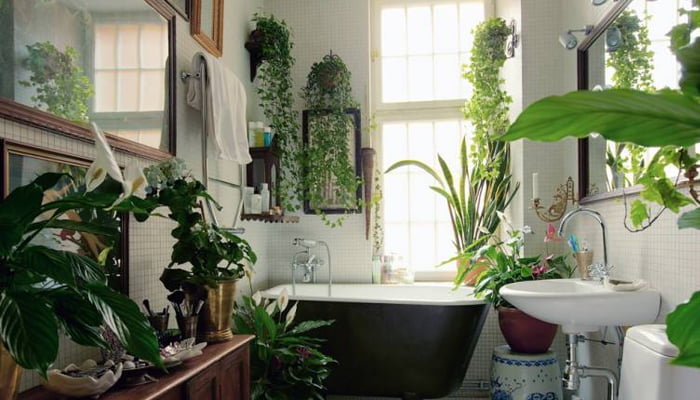
Plants aren’t just for aesthetics—they help purify the air and add a calming vibe. Even low-maintenance options like snake plants, pothos, or ferns thrive in the humidity of a bathroom.
Open shelves, windowsills, or corner stands are perfect for small pots. Not only do they make the room feel alive, but they also give a sense of care and attention to detail that instantly elevates the space.
10. Stick to a Budget and Plan
Finally, Reno pros emphasize planning and budgeting. “Even small DIY projects can get out of hand if you don’t set limits,” Jenna warns. Make a list of priorities, price out materials, and decide which upgrades will have the most visual impact for the least cost.
DIY bathroom renovations are all about smart, strategic changes. By focusing on paint, fixtures, lighting, storage, and finishing touches, you can transform your bathroom without breaking the bank. And the best part? You’ll feel proud knowing you did it yourself.